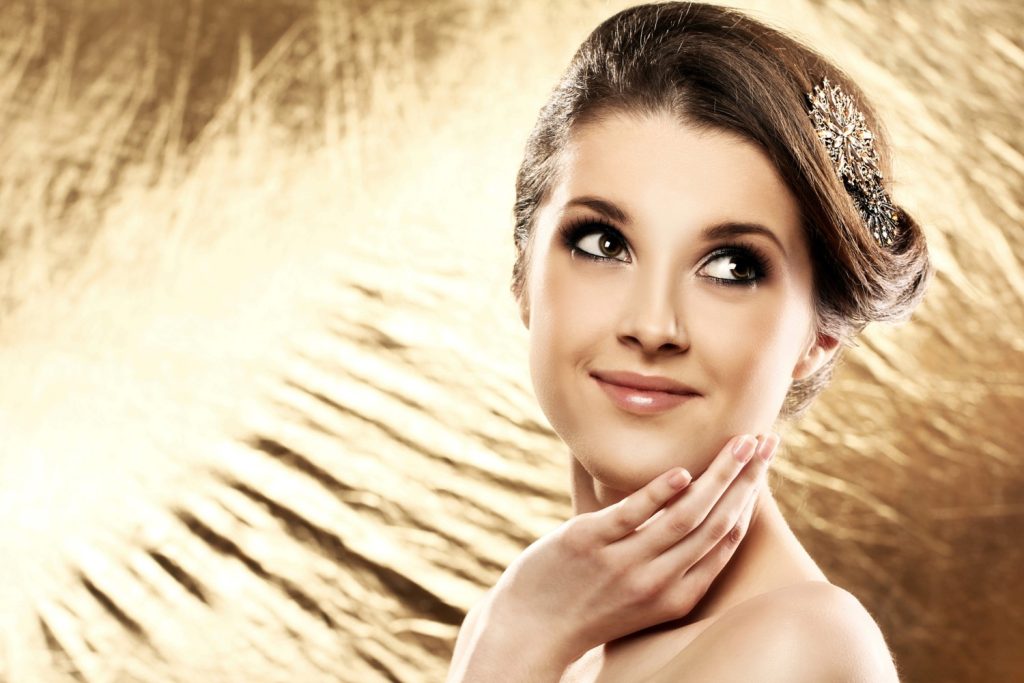
A radiant, glowing complexion is the hallmark of healthy, luminous skin. Highlighters, when applied correctly, can accentuate your features and give you that sought-after “goddess glow.” This guide goes beyond the basics to provide a comprehensive look at mastering highlighter application for all skin types, tones, and occasions.

Understanding Highlighter Basics
- What is a Highlighter?
A makeup product designed to reflect light, enhancing facial features like cheekbones, brow bones, and the nose. Highlighters come in various forms, including powder, cream, liquid, and stick. - Why Use a Highlighter?
It adds dimension to your face, creating a fresh, youthful, and radiant appearance. - Common Types of Highlighters:
| Type | Best For | Application Tools |
| Powder | Oily skin, layering | Fan brush, fluffy brush |
| Cream | Dry skin, natural look | Fingertips, sponge |
| Liquid | Versatility | Beauty sponge, fingers |
| Stick | Quick application | Direct application, blending sponge |
Step-by-Step: How to Apply Highlighter for a Radiant Glow
1. Prepare Your Canvas
- Cleanse and Moisturize: Start with clean, hydrated skin to ensure smooth application. Use a lightweight moisturizer for better adherence apply highlighter.
- Primer is Key: Apply a primer suited to your skin type for long-lasting results.
- Optional: For a subtle base glow, mix liquid highlighter with your foundation.
2. Choose the Right Shade
- Fair Skin: Opt for icy, pearl, or light champagne tones.
- Medium Skin: Warm gold and peach shades work wonders.
- Dark Skin: Go bold with bronze, deep gold, or rose-gold tones.
- Use a highlighter that matches your undertone (cool, warm, or neutral).
3. Targeted Application
Master the art of highlighting based on your face shape:
| Face Shape | Highlight Areas | Tips |
| Oval | Cheekbones, brow bones, cupid’s bow | Blend outward for symmetry. |
| Round | Center of the face, chin | Use vertical strokes for lift. |
| Square | Cheekbones, temples | Focus on softening angles. |
| Heart | Chin, cheekbones, nose bridge | Highlight to balance the face. |
4. Apply the Product
- Use a fan brush for powders or fingertips for creams.
- Lightly sweep or tap highlighter onto high points of the face.
- Key Areas:
- Tops of cheekbones
- Bridge and tip of the nose
- Cupid’s bow
- Inner corners of the eyes
5. Blend for Perfection
- Use a damp beauty sponge to blend seamlessly for a natural finish.
- Avoid harsh lines by feathering the edges.
6. Seal the Glow
- Set with a setting spray for a dewy finish or a translucent powder for a matte glow.
Advanced Tips for the Perfect Glow
- Layering Highlighters: Combine a liquid base with a powder highlighter for a dimensional look.
- Mixing Textures: Mix a cream highlighter with blush for a subtle blush-lit effect apply highlighter.
- Adjust Intensity: For a natural daytime glow, use a light hand; for an evening look, layer and intensify.
Product Recommendations
| Budget | Highlighter Options |
| Affordable | Maybelline Master Chrome, e.l.f. Baked Highlighter |
| Mid-range | Fenty Beauty Killawatt Freestyle, Becca Shimmering Skin Perfector |
| Luxury | Hourglass Ambient Lighting, Charlotte Tilbury Beauty Light Wand |
Sustainability and Skin Safety
- Opt for eco-friendly brands like ILIA and RMS Beauty Apply Highlighter.
- Always patch-test products on sensitive skin areas to avoid irritation.
- Use non-comedogenic formulas for acne-prone skin.
Summary: Your Glow Game Plan
Achieving glowing goddess skin is as much about technique as it is about the product. With proper skin prep, targeted application, and blending, you can master the art of highlighting. Try different methods, experiment with products, and find what works best for your skin type and tone.
Unleash your inner goddess and glow confidently!


